

Wall paneling has become one of the most effective ways to transform plain walls into captivating design statements. From cozy modern apartments to expansive villas, homeowners today are turning to DIY wall paneling to add warmth, depth, and architectural character to their spaces. Beyond its aesthetic value, wall paneling also offers practical benefits-covering imperfections, protecting walls from daily wear, and improving acoustic performance.
The beauty of wall paneling lies in its versatility. Whether you prefer the timeless look of natural wood, the contemporary rhythm of vertical slats, or the refined geometry of shaker panels, each style introduces a unique texture and personality to your home. The process of designing and installing your own panels can be deeply rewarding-a project where craftsmanship meets creativity. By taking the DIY route, you not only save substantial installation costs but also have full control over the materials, finishes, and layout. Every cut and alignment reflects your personal taste, turning your wall into a statement of individuality.
Moreover, wall paneling projects are highly accessible even for first-time DIY enthusiasts. With the right materials, proper preparation, and a clear plan, the entire transformation can be achieved over a weekend. In the sections that follow, we'll explore how to choose the right panel style and material, prepare your tools, and walk through each step of the installation process-from measuring and cutting to finishing and design inspiration.
Whether you're upgrading a modern living room or creating a natural accent wall, MuMu Design's pre-finished 3D solid wood panels make the DIY process easier and more elegant, combining artisanal craftsmanship with effortless installation.
Choosing the Right Wall Panel Type & Material
Before you pick up a saw or open a can of paint, understanding the different types of wall panelling is crucial. The style and material you choose will define not only the visual impression of your room but also the ease of installation and long-term maintenance.
Popular Wall Panel Styles
1. Shaker / Board & Batten
A timeless classic and perhaps the most approachable for DIY beginners. This design features simple rectangular frames that add subtle depth to a wall. It works beautifully in bedrooms, dining rooms, and hallways-particularly behind headboards or along stairways.
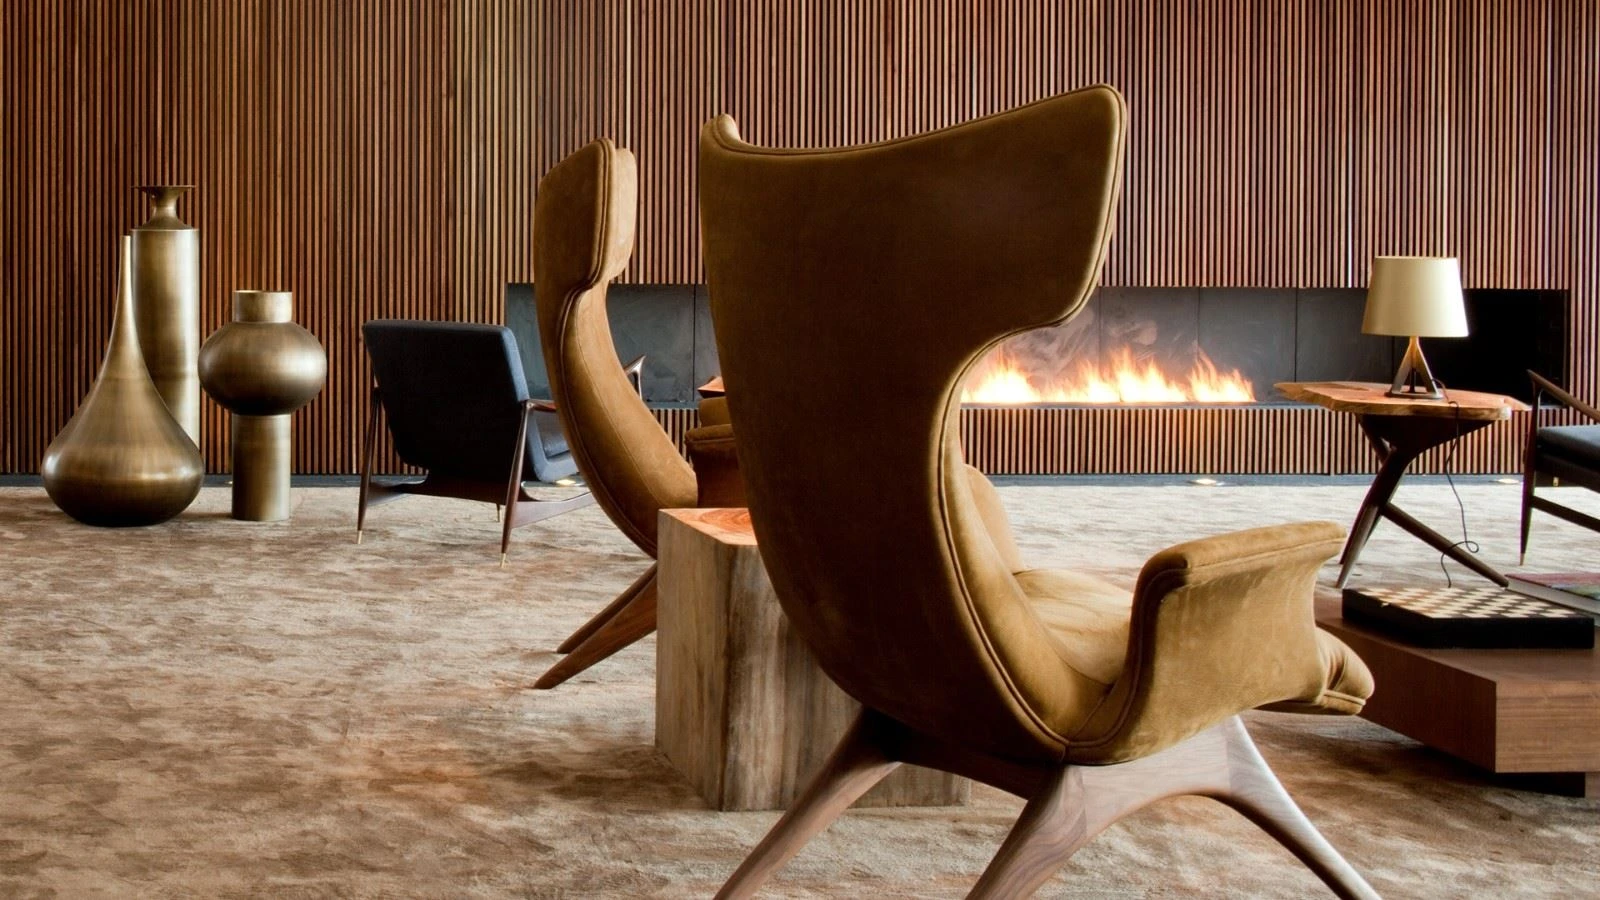
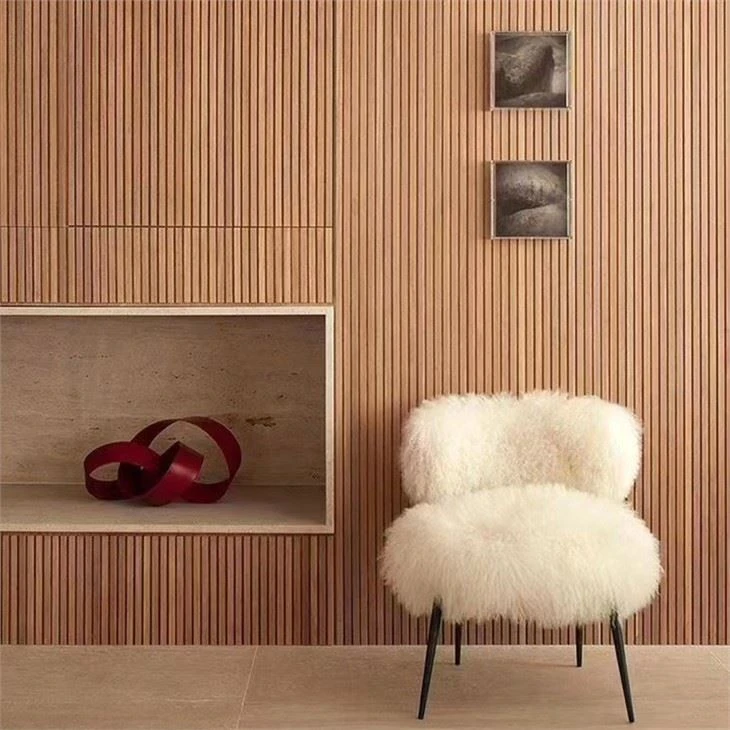
Modern, rhythmic, and full of texture, slatted panels have become a hallmark of contemporary interiors. They create a three-dimensional effect that enhances both light and shadow. Ideal for feature walls in living rooms, home offices, or studios, they balance minimalism with natural warmth.
3. Victorian / Classic Panelling
Characterized by tall, ornate profiles and symmetrical designs, this style lends a sense of grandeur to larger rooms. When painted in rich tones, it can instantly elevate a space with historical charm.
4. Half Wall Panelling
Also known as wainscoting, this option is perfect for hallways or dining areas. It adds structure to a space without overwhelming it and pairs well with contrasting paint or wallpaper above.
Material Comparison
For those seeking authenticity and durability, solid wood is the premier choice. Each grain and texture tells a story, bringing warmth and sophistication unmatched by synthetic alternatives. Properly sealed, it offers decades of performance.
MDF (Medium-Density Fiberboard)
A cost-effective and highly workable material that's ideal for smooth, painted finishes. It's consistent, easy to cut, and lightweight-great for DIYers on a budget. However, it should be avoided in humid environments unless moisture-resistant MDF is used.
Bamboo Fiber / Composite Panels
Eco-friendly and stable, bamboo composites blend sustainability with practicality. They resist warping and are suitable for both residential and commercial spaces.
Environmental & Design Considerations
When sourcing your wall panel materials, look for FSC-certified or low-VOC options to ensure a healthier indoor environment. Combining materials-such as pairing MDF for upper walls with solid wood for accents-can help you achieve a perfect balance between design flexibility and cost efficiency.
MuMu Design's 3D carved panels use sustainably sourced hardwood, combining natural texture with CNC precision to produce stunning sculptural depth. These panels deliver both environmental responsibility and unmatched visual artistry-perfect for homeowners seeking a modern yet organic aesthetic.
Tools & Preparation Checklist
A successful wall panel installation begins long before the first board goes up. Careful planning and preparation will make your project smoother and ensure a professional-quality finish.
- Measurement Tools: Tape measure, spirit level, and laser line to achieve accurate dimensions and alignments.
- Cutting & Fixing: A hand saw or miter saw for clean cuts, a nail gun or hammer for secure fixing, and high-quality wall panel adhesive for bonding panels to the wall.
- Finishing Materials: Caulk or filler for seams, sandpaper to smooth rough edges, and primer or paint for the final aesthetic touch.
- Safety Gear: Protective gloves, goggles, and a dust mask are essential-especially during sanding and cutting.
- Workspace Setup: Choose a flat, well-lit, and ventilated area for cutting and assembly. Keep tools organized and materials away from dust or moisture.
Pro Tip: Always purchase 5–10% more material than your calculated need to account for cutting errors and natural waste.
Optional Add-ons: Consider LED strip channels for ambient lighting, insulation foam for sound absorption, or a thin waterproof backing if the wall is prone to moisture.
Step-by-Step Installation Guide
The installation process for DIY wall paneling may seem intimidating at first, but with patience and careful attention, anyone can achieve a high-end finish.
Step 1: Measure & Plan Your Layout
Begin by sketching an elevation of your wall, noting outlets, switches, and furniture positions. Plan your panel pattern-whether symmetrical, slatted, or geometric-and mark all key dimensions. Consistency in spacing is key to a clean visual rhythm.
Step 2: Prepare the Wall
Thoroughly clean the wall and ensure it's smooth and level. Fill cracks, sand down rough areas, and check for moisture or unevenness. In damp environments, apply a primer or a moisture barrier before installation.
Step 3: Cut & Paint the Panels
Cut panels precisely using a saw or miter box. Sand all edges for a professional look. If you're using raw wood or MDF, paint or oil the panels before installation to protect their surfaces. Alternatively, pre-finished panels-such as MuMu Design's 3D solid wood collection-allow you to skip this step entirely.
Step 4: Apply the Panels
Apply a strong adhesive to the back of each panel and press it firmly against the wall. Reinforce with brad nails for extra stability, especially for heavy or tall panels. Start from the room's main focal point and work outward to maintain symmetry. For solid wood panels, remember to leave a 3–5 mm expansion gap to accommodate natural movement.
Step 5: Fill, Sand & Finish
Use caulk or filler to seal all seams and nail holes. Once dry, sand lightly for smoothness, then apply paint or sealant as needed. Clean the surface and step back to admire your work-the wall should now look perfectly aligned, cohesive, and rich with texture.
By following these DIY wall paneling steps, you can achieve results that rival professional installations, while enjoying the satisfaction of creating a beautiful wall by hand.
Design & Styling Inspirations
Once your wall panels are installed, the creative possibilities truly begin. Wall paneling is not only about covering walls - it's about transforming a room's atmosphere, introducing depth, light play, and tactile beauty. With thoughtful color choices, textures, and details, you can turn an ordinary space into an unforgettable interior experience.
Feature Wall Concepts
A well-placed feature wall can redefine an entire room.
- In the living room, a slatted wood wall behind your TV or sofa adds visual warmth while serving as a modern focal point.
- In the bedroom, vertical panels or half-height wall panelling behind the headboard create an intimate, calming effect.
- Along hallways, half-wall designs or continuous panelling can elongate the space and protect it from scuffs.
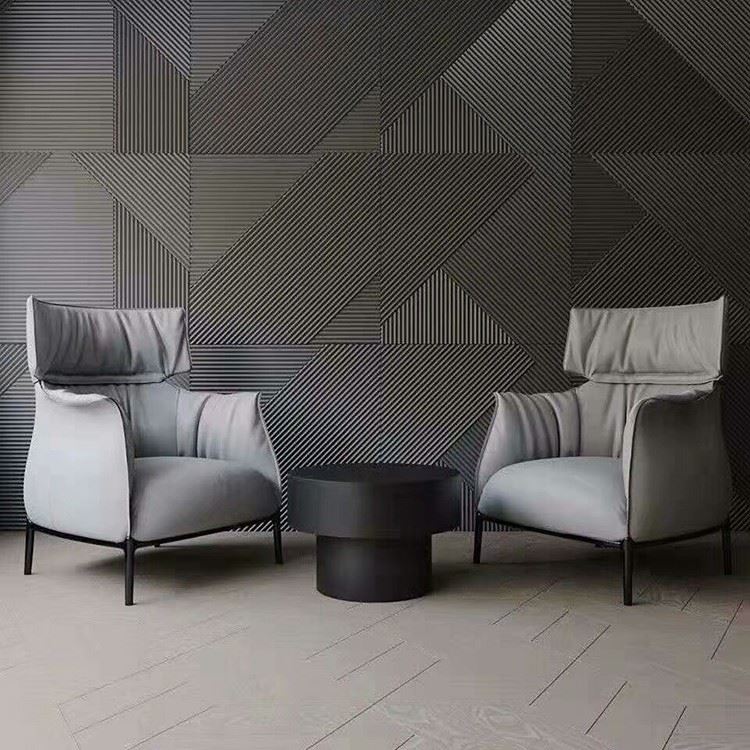
Whether you prefer symmetry or freeform design, wall panelling allows you to experiment with architectural proportion, shadow, and rhythm.
Color & Texture Ideas
The combination of color and texture determines the mood of a space. Mixing matte and glossy finishes can add subtle visual interest without overwhelming the design. For instance, pairing light-colored paint with the natural tone of walnut or oak panels creates balance and sophistication.
Contrasting natural wood with deeper paint hues-navy, charcoal, or forest green-emphasizes the organic grain of the panels and gives your room an elegant, grounded feel. Alternatively, all-white wood panels can brighten compact rooms and evoke a minimalist Scandinavian atmosphere.
Functional Enhancements
Wall paneling can also enhance practicality. Integrating built-in shelves into paneled sections allows for creative storage or display of art and decor. Hidden doors disguised within the panel pattern can provide discreet access to storage rooms or bathrooms while maintaining design continuity. For a modern ambiance, LED strip lighting along panel edges or behind 3D surfaces adds depth and soft illumination.
Modern 3D Wood Designs
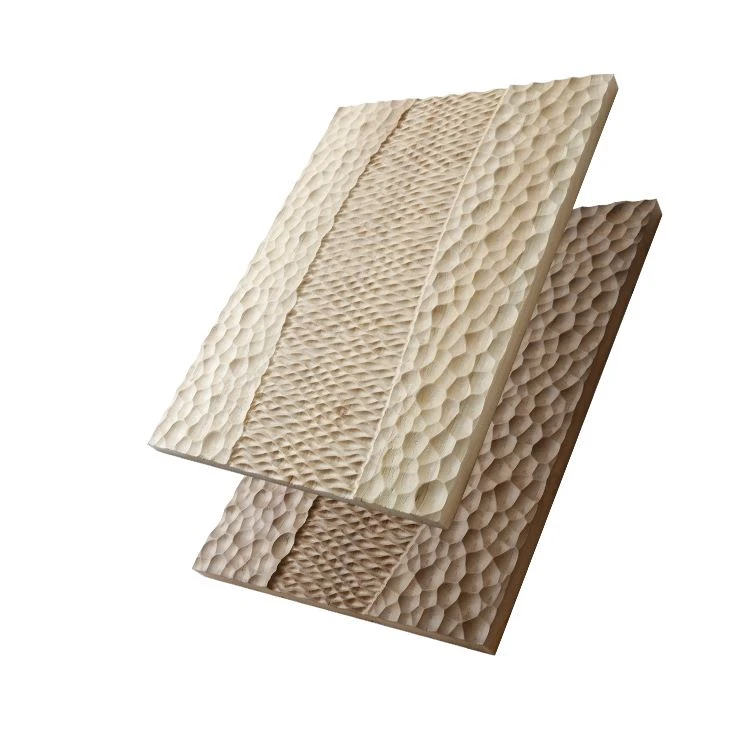
For those seeking a truly striking statement, 3D wood wall designs deliver sculptural drama and tactile luxury. Unlike flat panels, these designs interact with light, producing dynamic shadows and dimension throughout the day. They blend perfectly with minimalist interiors, where texture becomes the key visual feature.
Our CNC-carved 3D panels combine art and craftsmanship-perfect for boutique interiors or luxury home renovations. They merge the precision of modern technology with the warmth of natural wood, giving each wall the depth and personality of a bespoke architectural element.
Common Mistakes to Avoid
Even the most enthusiastic DIYer can encounter pitfalls. Here are some of the most common DIY wall panel mistakes and how to prevent them:
1. Not checking wall level before installation.
Walls are rarely perfectly straight-always use a level before fixing the first panel. Even a small deviation can throw off the alignment for the entire wall.
2. Ignoring humidity control and wood expansion.
Natural wood panels expand and contract with temperature changes. Always leave a 3–5 mm expansion gap to prevent warping or cracking.
3. Forgetting outlet and alignment planning.
Before applying panels, mark all electrical outlets and switches clearly. Misalignment often leads to tedious re-cutting.
4. Skipping caulking and finishing polish.
Caulking and light sanding after installation may seem minor, but they make the difference between a rough DIY job and a polished, professional finish.
By avoiding these common errors, you'll ensure your wall panels remain durable, elegant, and seamless for years to come.
FAQs
1. How much does DIY wall paneling cost?
Costs vary depending on the material and size of your wall. MDF panels are the most budget-friendly, while solid wood or 3D carved panels offer higher-end appeal. On average, materials range from $10 to $60 per square foot.
2. Can I install wood panels in bathrooms?
Yes, but use moisture-resistant materials such as treated hardwood or composite panels. Ensure the wall is sealed properly and use a water-resistant adhesive.
3. Should I use nails or adhesive?
Both methods work. Adhesive provides a cleaner surface and avoids visible holes, while a nail gun adds stability-especially for heavier panels. Many professionals use both together.
4. How long does it take to install?
A standard accent wall can be completed in one to two days, including preparation and finishing.
5. Do I need to paint solid wood panels?
Not necessarily. Pre-finished or oiled panels highlight natural grain patterns and save time. However, painting allows for full customization and style consistency.
6. How do I maintain wooden panels?
Wipe surfaces regularly with a soft, dry cloth. Avoid harsh chemicals or excessive moisture. For oiled finishes, reapply oil every 12–18 months to maintain luster.
7. Are 3D panels suitable for commercial interiors?
Absolutely. Their depth and texture make them ideal for reception walls, hotels, and boutique spaces seeking a distinctive design statement.
8. Can I order custom panel sizes?
Yes. MuMu Design offers OEM customization for 3D wooden panels-tailored to your wall dimensions, finishes, and project needs.
Conclusion
DIY wall paneling is more than a weekend project-it's a creative journey that connects you with your living space. Each step, from sketching your first layout to admiring the finished wall, is a testament to craftsmanship and individuality.
By taking the time to plan, measure, and execute carefully, you can achieve a professional-grade result that enhances both the style and comfort of your home.
If you're ready to elevate your interior design, choose materials that reflect your personality and values. MuMu Design's range of pre-finished 3D solid wood panels offers timeless beauty, precision detailing, and effortless installation-ideal for both residential and commercial projects.
Ready to start your own DIY wall transformation? Explore MuMu Design's 3D solid wood panels - designed for easy installation and timeless beauty.
